I am not a good gardener. I either don’t do anything at all or I start over-large projects never to finish them, leaving a wake of dead plants and weed filled containers behind me. But things have changed now: I have a small damp north facing yard of my very own… so think it’s time for me to have another go! The have-a-go-hero series of blogs will document my successes and failures.
A window box
I have been reading The Thrifty Gardner by Alys Fowler, a long-unread but 10/10 Christmas present from my parents. Having just bought a house I am pretty much broke and her fun, practical and cheap/free gardening ideas are just the ticket. She mentioned using an old CD rack for a window box, and I happened to see one for a few pounds in my local charity shop – CD’s are going out of style so keep your eyes open for these in skips, tips and charity shops.
Strengthen the corners
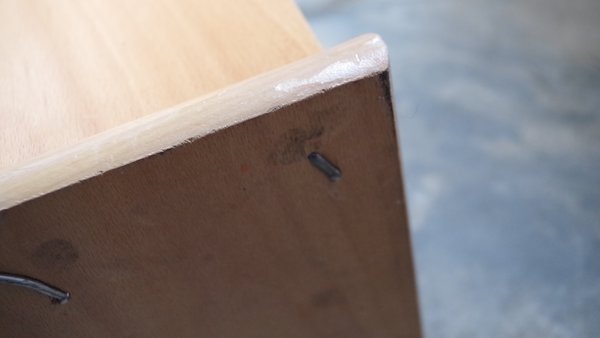
Having ripped out all the plastic bits where the CD’s ship into, I strengthened the corners so the box will cope better with the wet outside. I tried using little L-shaped brackets but that didn’t work because there wasn’t enough space to drill/screw at a sensible angle, so I (well, my other half Joey) just nailed it together a bit more. In retrospect, I should probably have used screws instead – next time I will do this better.
Attach some feet
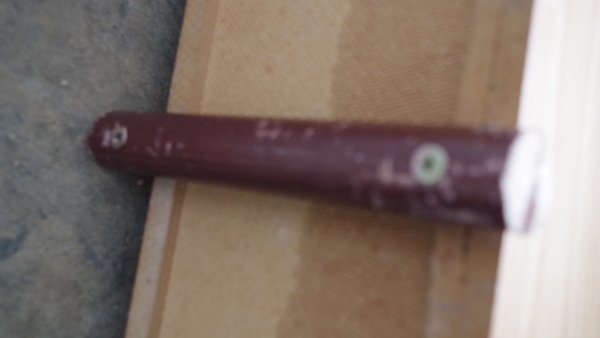
For me this is to stop things living under it, but I suppose it will keep the bottom of the box dry too, so it won’t rot. I used two bit’s of curtain pole that we had spare from last weeks DIY project.
Drill some drainage holes
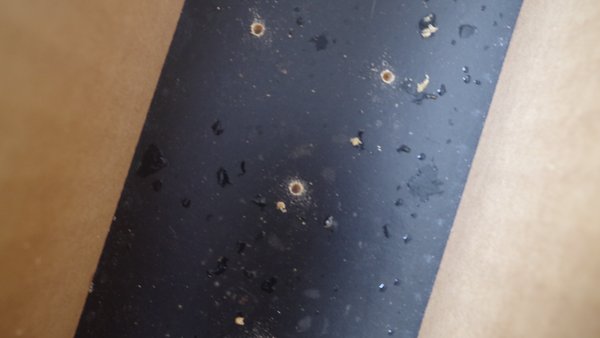
This was kinda fun! Drilled a few holes in the bottom to let the water out.
Line With plastic
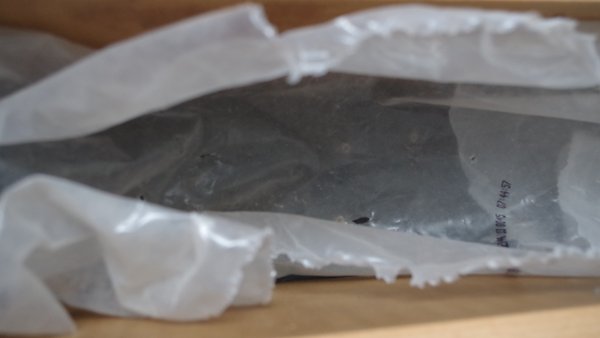
This was tricky do to, could really have done with a staple gun but all I had were those little nails from the back of an IKEA Billy bookcase… anyway, I used an old dog food bag and cut some holes in it with scissors.
The key is (was, didn’t do it quite right!) to get the plastic loose enough that there is room for the compost and also to keep the edges in check, so they don’t peek over the top of the box. I found it’s easier to fit the plastic while the box is sitting on it’s feet but to hammer the nails in downwards, so
1) fit plastic and hold it tight in place
2) turn box over so you can hammer downwards to nail the plastic in place.
Fill with compost and add some plants
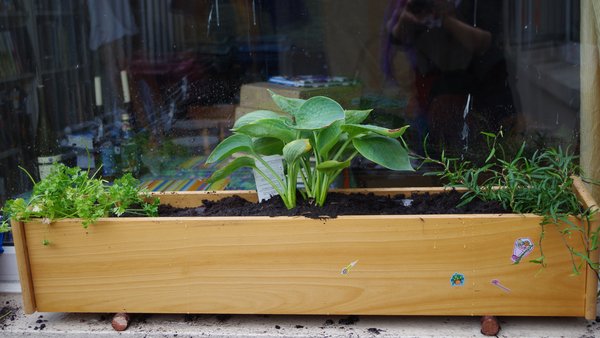
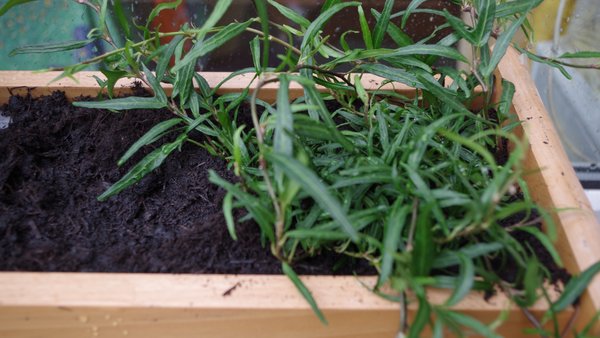
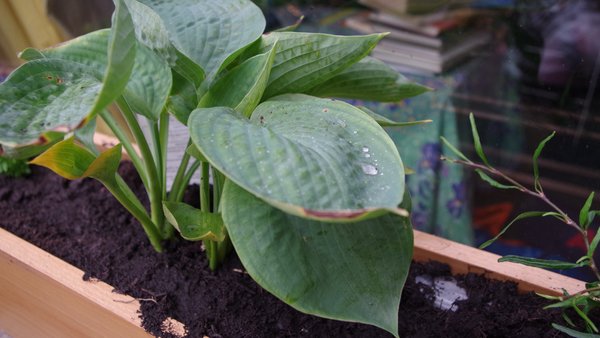
The other day in homebase I bought some compost reduced cause the bad had split, and a trailing ivy and a hosta drinking gourd reduced because they were a bit manky looking,
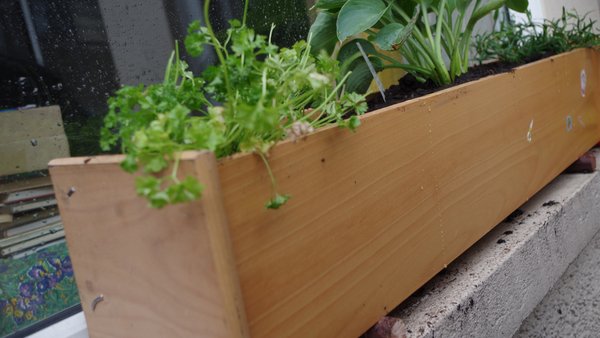
I am not convinced that the gourd thing is in the “right place.” It’s roots were huge and it’s going to die-back for the winter soon anyway I think. I guess we will just have to see if it survives. The ivy should do well though! I also had some parsley left in one of those pots you can buy in the supermarket, which I got reduced a few weeks about because it was “past it’s sell by date” (what ever that means on a living plant!) I added a bit of that just to see if it will survive.
I think I will get some bulbs soon, if I see any nice ones too. Something that doesn’t mind the shade too much.
Anyway…
Voila, one window box!
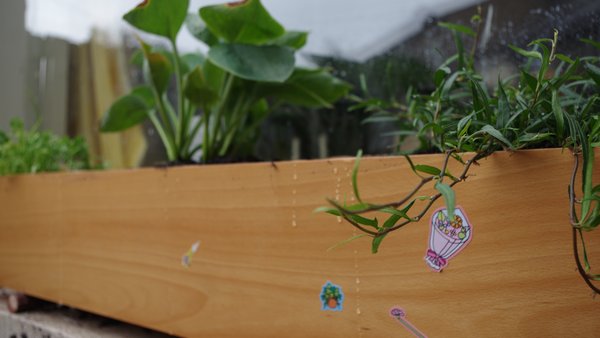
I especially like the random stickers! They remind me of my childhood 🙂
Enjoy having plants
Look… nice water drops on leaves! Ooooh!
