In this blog I introduce my new buddy Mycroft, an Open Source voice activated home assistant. I detail how to re-install his software if he has a big problem.
Table of Contents
Slow v lazy
 So it happened, I finally have voice AI envy… I really didn’t think this would happen, asking Google or Alexa a question is usually slower than just getting your phone out of your pocket and searching manually. Plus, I already issues with Google and Amazon knowing as much as they do about me, there is zero chance I am letting them have a speaker in my house. End of argument.
But I missed one tiny detail… I am really lazy. Sure, asking is slower than manually checking (just as video tutorials are always slower than written ones) – but it IS easier. So, just as standing up and walking to the TV to press a button is now unthinkable, even though the remote is always slow to find, putting my hand in my pocket and getting my phone is starting to feel a lot like hard work. So, meet Mycroft.
Open Source
The big difference between Mycroft and Alexa / Google assistant / Siri is that he is Open Source – that means that you can go here to this public place and see, edit or borrow all his software code. You can contribute if you like (yourself or pay someone) – build your own features, make a report if there is a problem and see it get fixed. Even the hardware of this model is open, built from Raspberry Pi and Arduino (so you could turn him into a robot if you wanted to!).
All of this means that Mycroft has the potential to be run privately, independent of any business or organization – which of course other businesses just love, as well as privacy aware people like myself. Practically speaking right now, the makers of Mycroft are involved in the functioning of my Microft – but they are a good bunch, and I trust them. Who can say that for Amazon or Google?
Buying a Mycroft
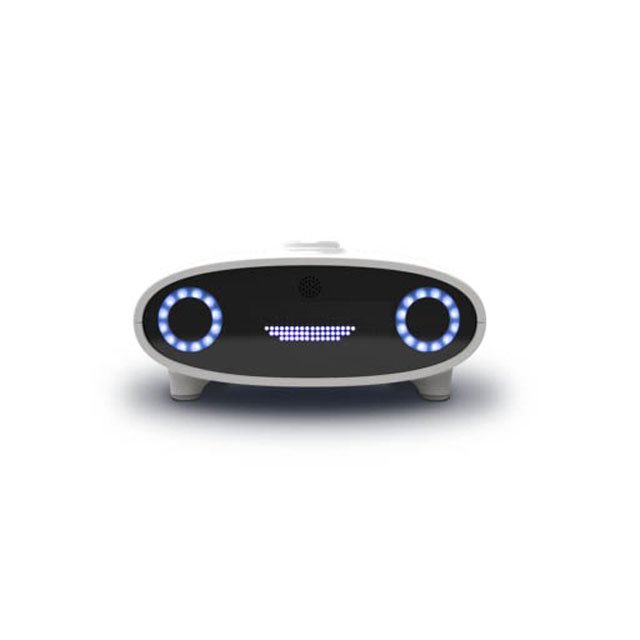
Mycroft comes in two types, Mark 1 and Mark 2 (coming soon). The Mark one is super cute, a little E.T. style dude with big round eyes and a voice like an aging blues singer. The Mark 2 is a Beta version of the mass-market version that will be released in 2019. The Mark 1 is aimed at tinkerers and techies, the Mark 2 as everyone else. You can buy a Mark 2 from here ($179) or reserve a Mark 2 on Indiegogo here – you can also install it on a PC or build your own on a Raspberry Pi. I bought a new one from ebay for about £70 – it was unused but slightly old, which meant it shipped with some bugs. This meant I had to get a bit more techie than I wanted to and open him up to re-install is software. Here is a how to that:
Doing a compete re-install
You will need:
- A micro USB card reader – I used this one by Anker (it’s possible your computer has one of these built in)
- A computer
- A tiny screwdriver or allen key
- Your wifi password
- About 20 minutes
You also need to download the latest version of Mark1’s software here. Don’t take my word for it though, check the documentation for the Mark 1, specifically here. While this is downloading, open up Mycroft.
Open up Mycroft
We found a very small Phillips head opened him okay.
You then need to take his tiny little drive out of the Raspberry pi – don’t lose it!
Re-installing Mycroft AI
Once Mycroft’s new software has downloaded, you need to unzip it. Usually this can be done by right clicking on the file and clicking Extract or Unzip.
Then, you need to install Etcher or similar. You then pop the micro usb into the drive, and pop the drive in a usb slot. Open etcher, and click the first button (left) for choose image. This should open up a file browser, you need to find that Mycroft software you downloaded and select it.
Next, select the Microusb you want to use with the second button on etcher. It might automatically suggest one, make sure it’s the right one!
Finally, click Flash. It takes a few minutes. When it’s done, put the microusb back into Mycroft and screw him back together.
Restarting Mycroft
When you plug in mycroft, he might need to update himself a little bit – then you should be guided back through the initial set up. This goes Connect to his network, then connect him to Wifi then connect him to home.mycroft.ai. And then you are done!
Have fun!
Hi Anna, it’s been a long time since your post, but do you still use the Mark 1? I’ve just got one yesterday and revived it with new software from Open Voice OS. It works great on the Mark 1 and it’s giving it a new chance 🙂 I’ve stumbled on your post, trying to find info about the Mark 1. I really like your style of writing.
Maybe the following links are interesting for you or for whoever also come across your original post:
https://github.com/OpenVoiceOS/ovos-installer
Demo of Mark 1 revived by one of the OVOS developers: https://www.youtube.com/watch?v=Q6FAo_gPRms&list=PLdZ9a1TS1aA2s-oObRtL_KlXNwoeBEU3b&index=1
There’s an active OVOS community that really help(ed) me a lot with everything around installing OVOS etc. You can find them on Matrix: https://matrix.to/#/!XFpdtmgyCoPDxOMPpH:matrix.org?via=matrix.org
Hi, so I had kids and basically stopped tinkering unfortunately. I spend my tinkering energy on Duplo and marble run at the moment! I’ll be back though!! Glad to have your comment and to see life in these projects
If you still have your Mark I, I would like to see if I can purchase it? The front LCD on my stopped working and I have reflashed firmware and even tried a new pi, to no avail. I would love to see light in mine again,.
hi, yes, I have it I think, can you email me on annafjmorris@gmail.com and I’ll get back to you. he is super cute it’s true!!