Having a backup of treasured family photos is one reason I have set up a HexOS NAS in my home. It also gives me the option to de-Googleify my life at some point – as currently my only backup is Google photos.
However … I have felt a bit overwhelmed at the idea of actually downloading all the photos from Google and then adding them to my NAS. I kept putting it off feeling like I should sort them out and remove duplicates first. My data-hygiene is terrible, especially going back a few years. I really wanted to a clean slate.

Recently a my good friend had her Google account hacked and lost access to all the baby photos of her kid, possibly forever: this is unthinkable for me. I want an additional backup ASAP, so I’m diving in. Now. Okay, after coffee. Now, now!!
Table of Contents
Downloading my photos
I have already set up Immich and am using it to back up new photos from my phone. I was hoping Immich would have some kind of tool to import Google photos but I haven’t noticed one unless you include this kind of incomprehensible stuff.
Google takeout
I Googled “download all my google photos” and clicked a link to https://takeout.google.com/
I tapped Deselect all, as all sorts of data was selected automatically and I just want photos.

Then I selected Google Photos from the long list. There was the option to select or deselect particular albums.
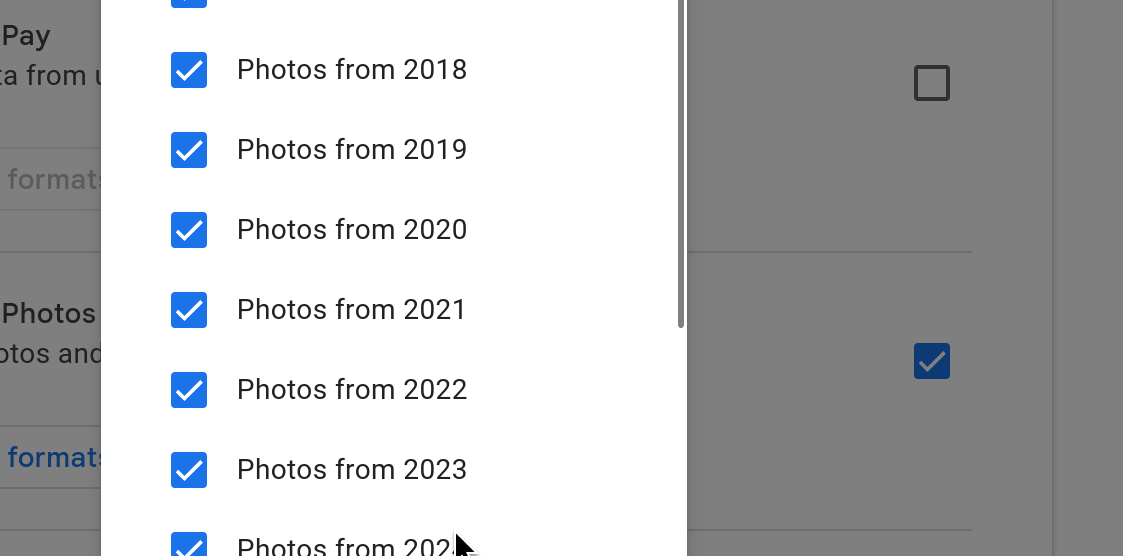
I occasionally use albums for collecting pictures to print out, but honestly it’s rare. I don’t tend to even think about albums when looking at my Google photos, this is Google’s vibe not mine. I left all the albums checked as this seems the only way to get the photos.

I then scrolled down right to the bottom of the screen and clicked Next Step. I had a look at the options and was worried I would need to go via dropbox or something. This was because I thought my laptop hard drive wouldn’t be big enough to download everything and I thought it might come on one massive file somehow.

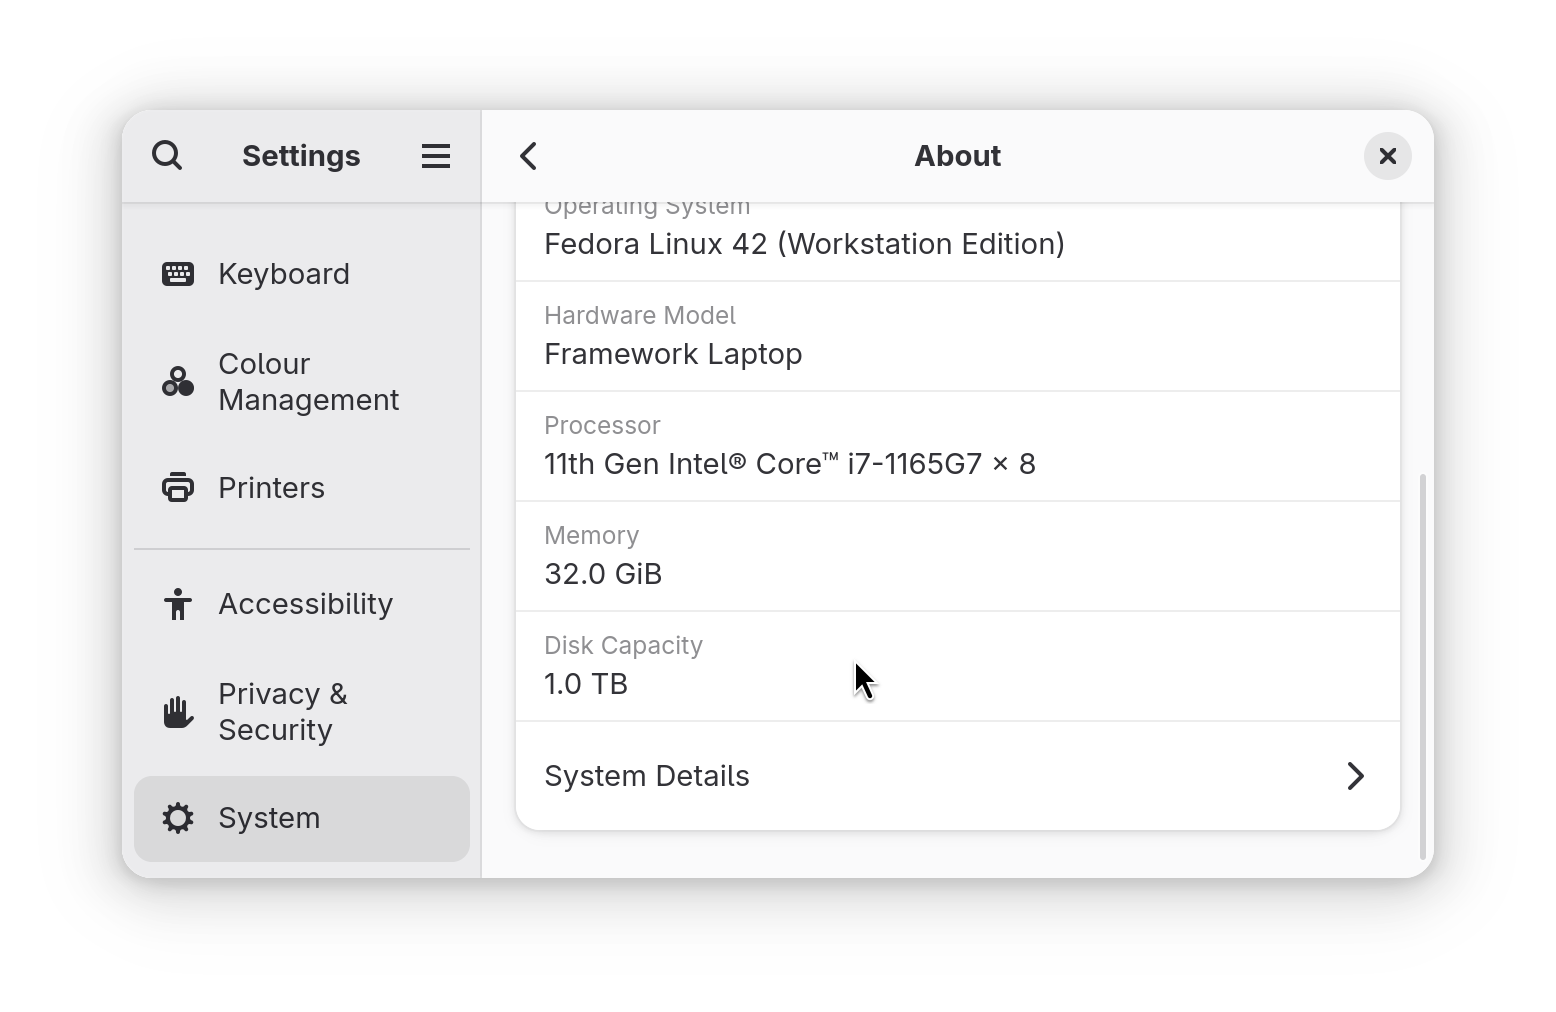
I checked how much data there was on Google Photos by looking at my Google account storage. I then compared it to my disk size shown in my laptop system info. Actually I have a 1TB drive which I had forgotten – the benefits of bring your own storage Framework laptop!

So I chose Send download link by email and then realised it would come in smaller packets anyway. I chose 4GB zip: I felt that fewer files would be easier to manage.

Eventually the email arrived and I got a link to the downloads


I was promoted to log in to download (there were previous security alerts sent to my phone and email also) however there was no 2FA, just the password. Download started. I suppose this is the purpose of smaller file sizes – easier to download!

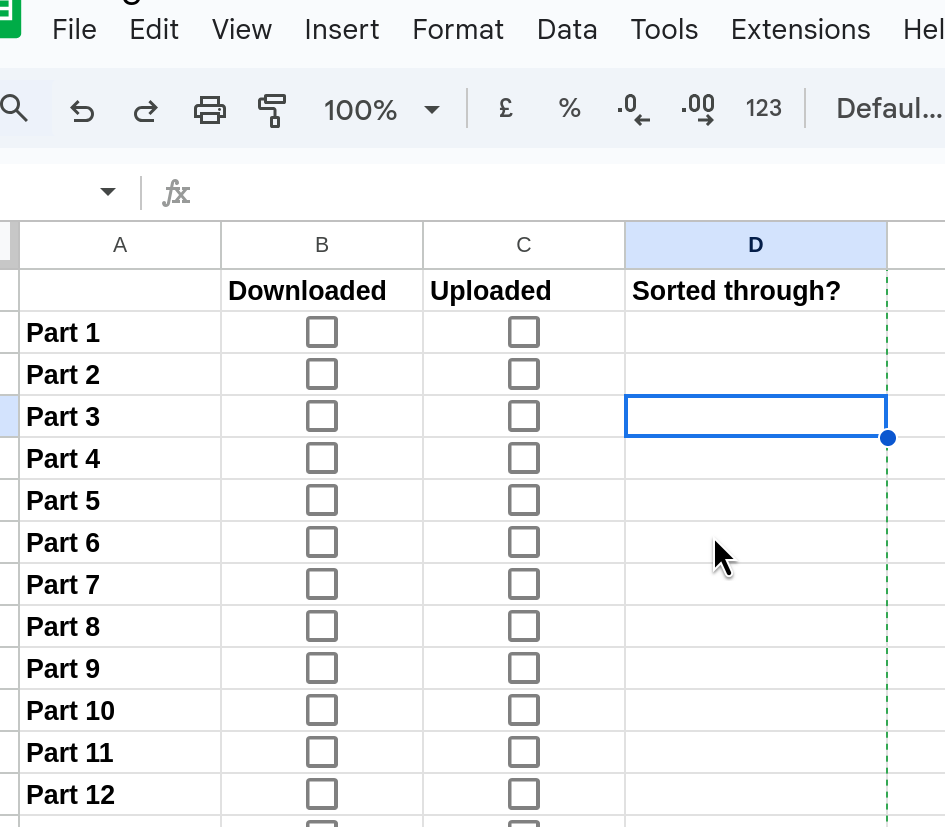
I decided I would need a way to track progress as this would take me multiple days to complete, so I made a Google doc to track everything. I added a “sorted through” column in the hope I will one day do this, but I don’t really have any sense of how I will do this and how it will relate to uploading, if at all. 🔮I didn’t need this doc in the end btw.
I also have the issue that I don’t really understand the way Immich works and have no plan to keep my new photos tidy either. It all needs needs thinking about. But for now… uploading.
How to upload to Immich?
I thought at first of connecting to the server via the network section on my file browser, but the file browser had forgotten the connection it seemed. I ruled it out because I got filled with a feeling of “I cannot be arsed” when I thought about it, and I wasn’t confident I would get an upload status / time remaining or errors if just using the file manager.
💭 In retrospect it’s interesting I thought of this at all, and didn’t just head straight for Immich web interface. I suspect it’s a throwback to backing up on a external hard drive and because I associate uploading stuff via a browser as being slow and annoying.
I don’t think you can import images this way anyhow. So I decided to go in through the deck. I went Deck > Immich > Launch and Upload.

I noticed I have a year of photos showing so this must have been everything on my phone, I’m guessing at some point I will end up uploading stuff that’s already on Immich: I wonder what will happen! I am hoping that I will be able to upload older photos first and the figure out when the start date is of the ones already uploaded and stop uploading then.
I was also hoping I could upload the zip directly but Immich didn’t show the zip, so I went to my file browser to extract it.

Google takeout photos is an annoying mess
Honestly I was kind of appalled at the mess Google photos download was.
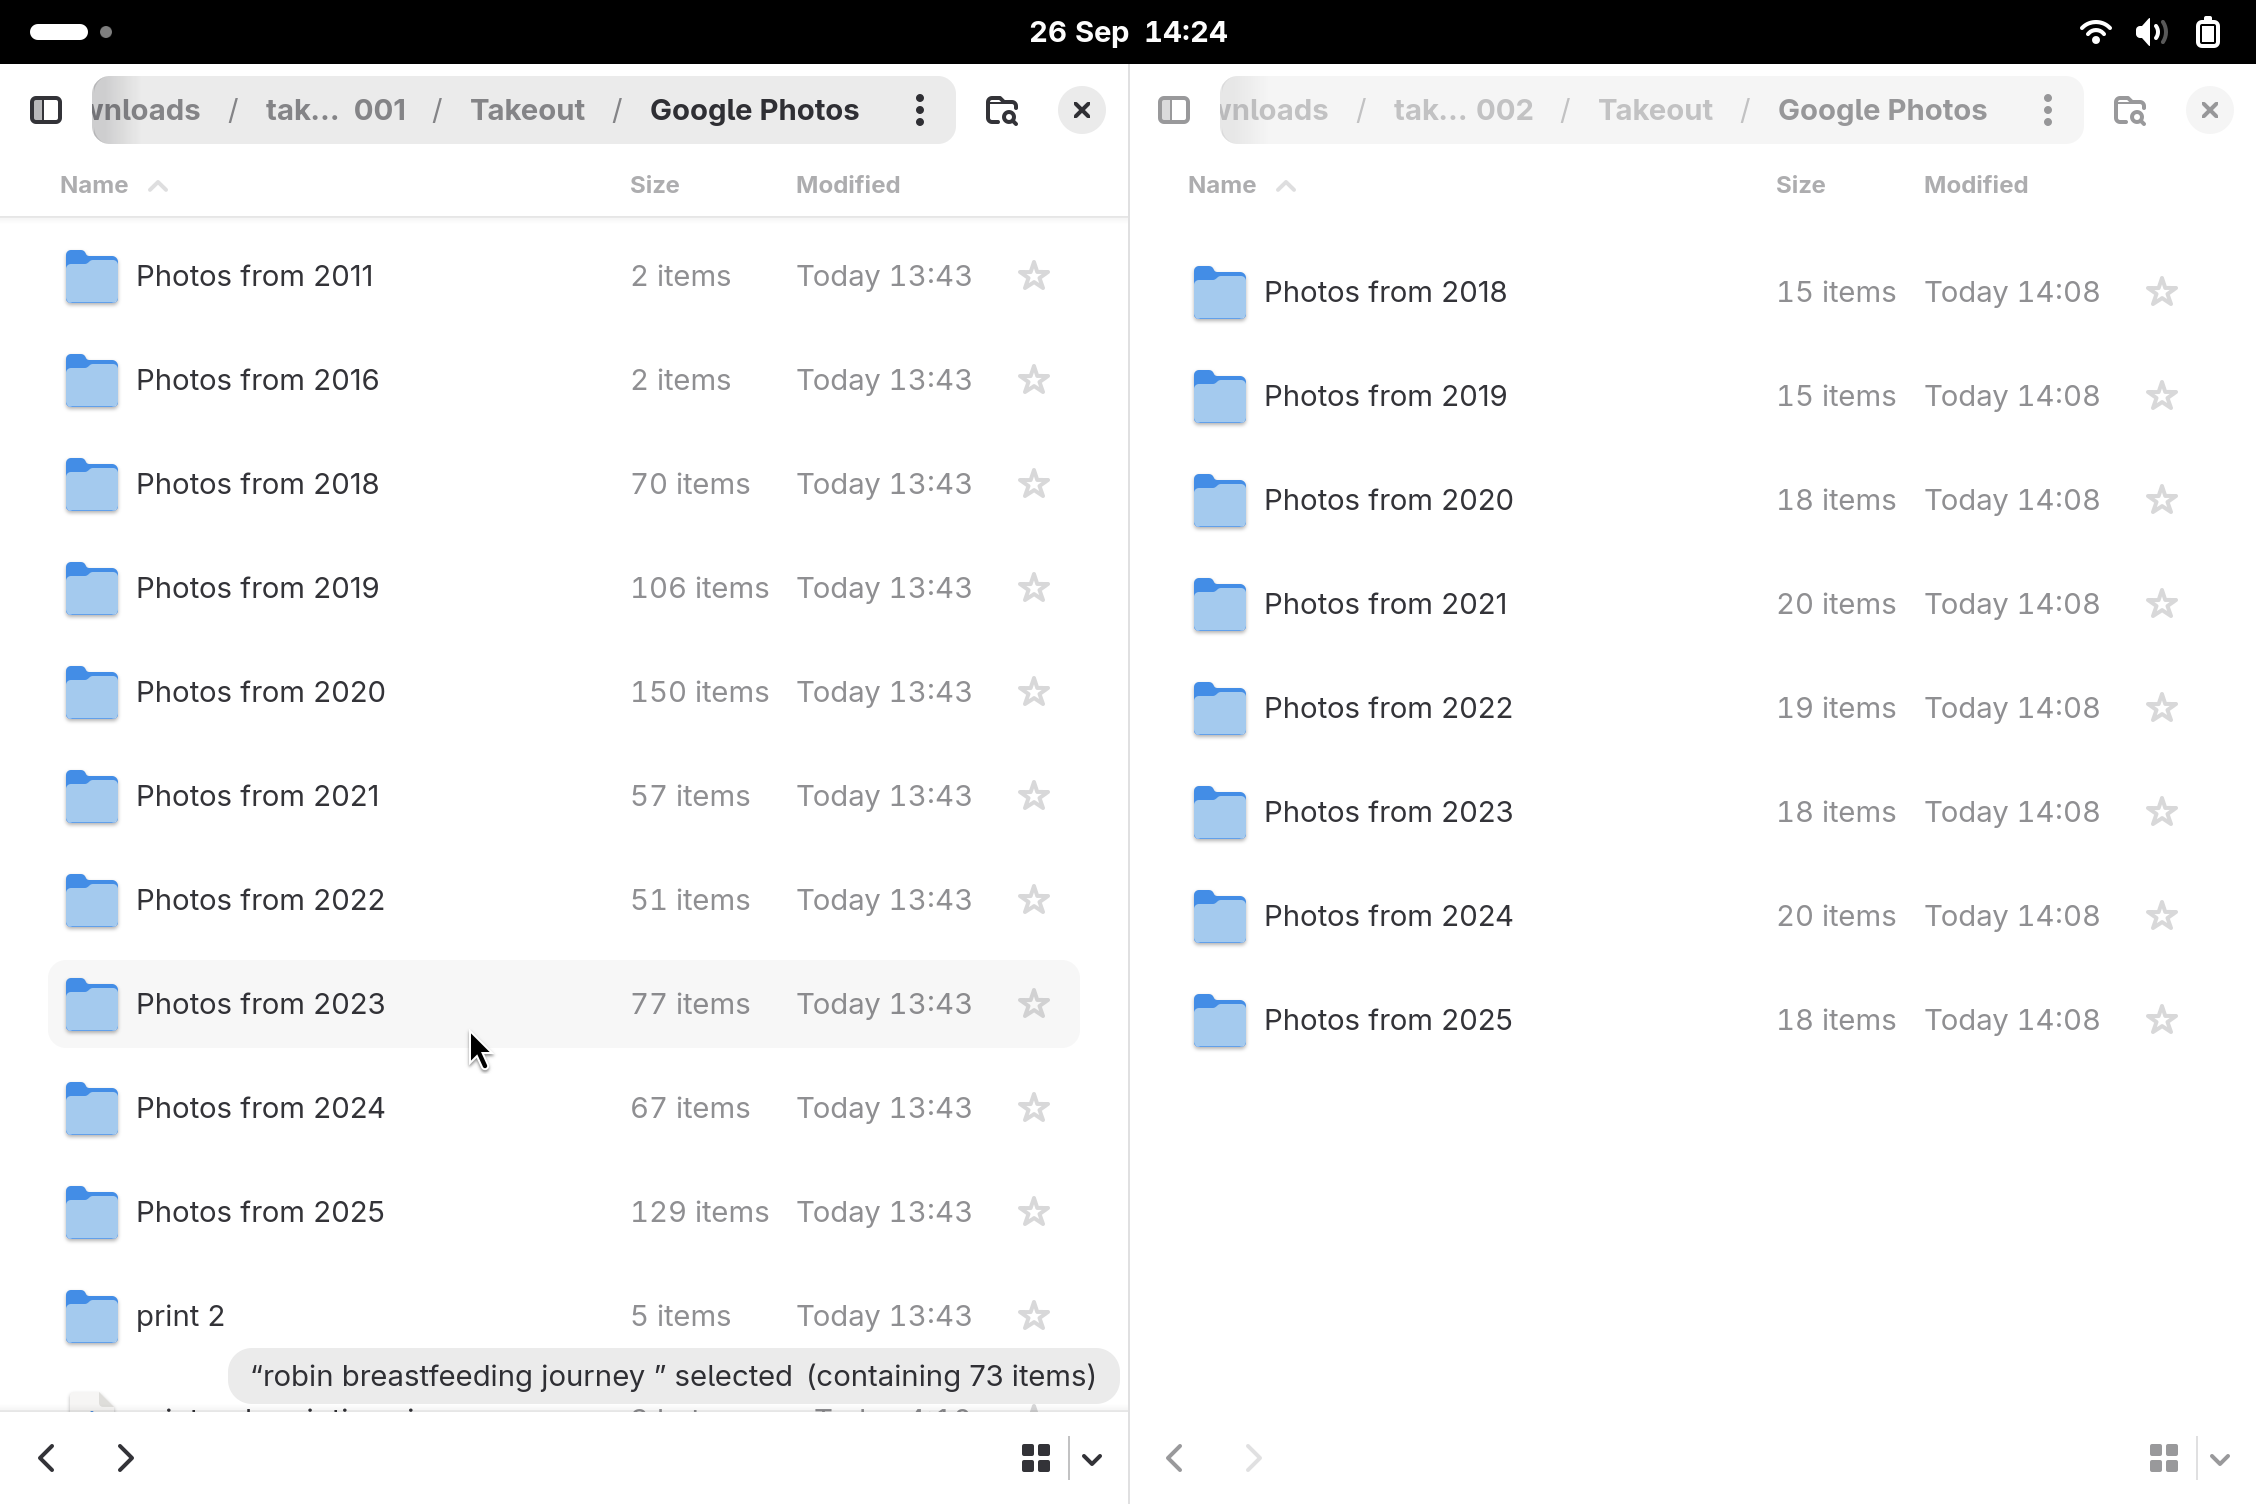
First, photos nested in multiple sub folders takeout-20250926T111020Z-1-001 > Takeout > Google Photos. Worse the first zip gives me 13 folders with just a few photos in each! I have no idea how I am going to stay organised while uploading stuff if it’s all broken down into individual folders. I went to start downloading the second one too see what the folder situation is like there. I was surprised to find Google helpfully registers which of the folders have already been downloaded (hence not needing to track in the spreadsheet).

While I was waiting for the second folder I looked to see what Immich had of the Google takeout. Basically it sees individual photos in individual folders, so I would have to go into each folder and select the pics… nope!! not doing.

I feel like my options are:
- Look for another way of importing, maybe I can drag whole folders in?
- Use chatGPT to make a script to take everything out of the folder structure and dump it in single folder.
- Hope there won’t be so many folders in the rest of the files, doubtful.
I decided to take a coffee break, it’s 1:55 and my caffeine cut-off is 2pm! RUN! After Coffee I examined the next download from Google.
Unfortunately my hope for option 3 is dashed, the folder has some of the same folders with a small range of photos in: rather than Google giving me the folder for 2025 first, completing all of that, then doing 2024 (for example) it’s doing a small percent of 2025-2012 in each download file. This is stupidly annoying!
Choosing a next step: tool or manual import?
So now I think my options here are to:
1) Use a tool such as Goole photos migrate, which will can do a “full structured migrate” (bring over all the folders) OR a “flat migrate” (just import all individual phtos).
2) Do a “flat migrate” without a tool by using a script locally to put everything into a single folder and import it all
3) Manually sort it out / tweak of number 2.
The critical info for me here is how does Immich handle uploads of photos already on the server? Option 2 is blunt and will result in duplicates getting uploaded and option 3 would require a lot of work to avoid duplicates also.
I needed to do a test. What albums/folders do I actually WANT on Immich? I though ones I had already made on Google photos would be a good bet. Which of those are small enough in number of photos I don’t mind duplicates/can tidy up.
I choose to create two albums for my kids breastfeeding journeys in Immich. Then I would upload the photos from the folders those albums in Google photos and see what happened to duplicates
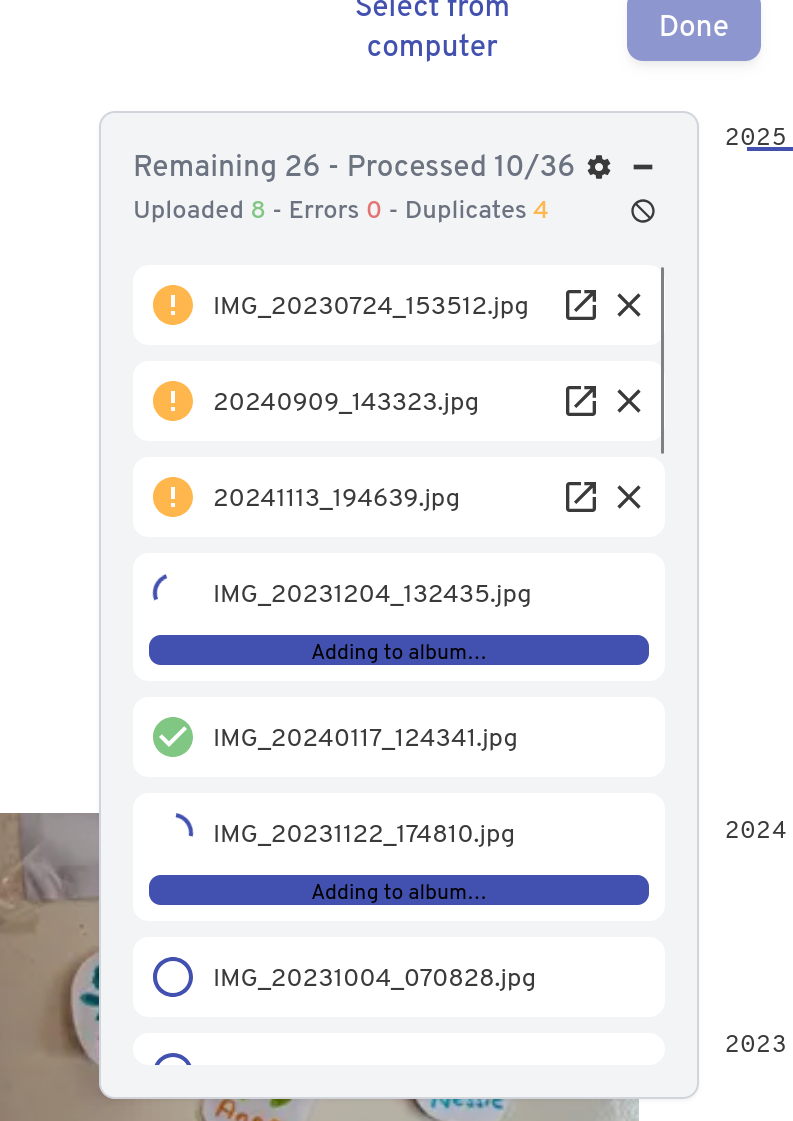
Bonza! Duplicates NOT uploaded by Immich.
I thought from the proportion of files excluded on each upload this “no duplicates” feature was probably working well (I know Immich has photos for the last year, the youngest child is 2 and about half his photos were skipped as duplicates, sounds promising!!)
So I decided to upload the specific albums that I actually want and then delete them from the downloaded Google photos. Then I will somehow “collapse” the rest of the folders manually or use a script to do that. Finally I will upload the rest of photos unsorted.
Consolidating photos from the horrible Google takeout file structure
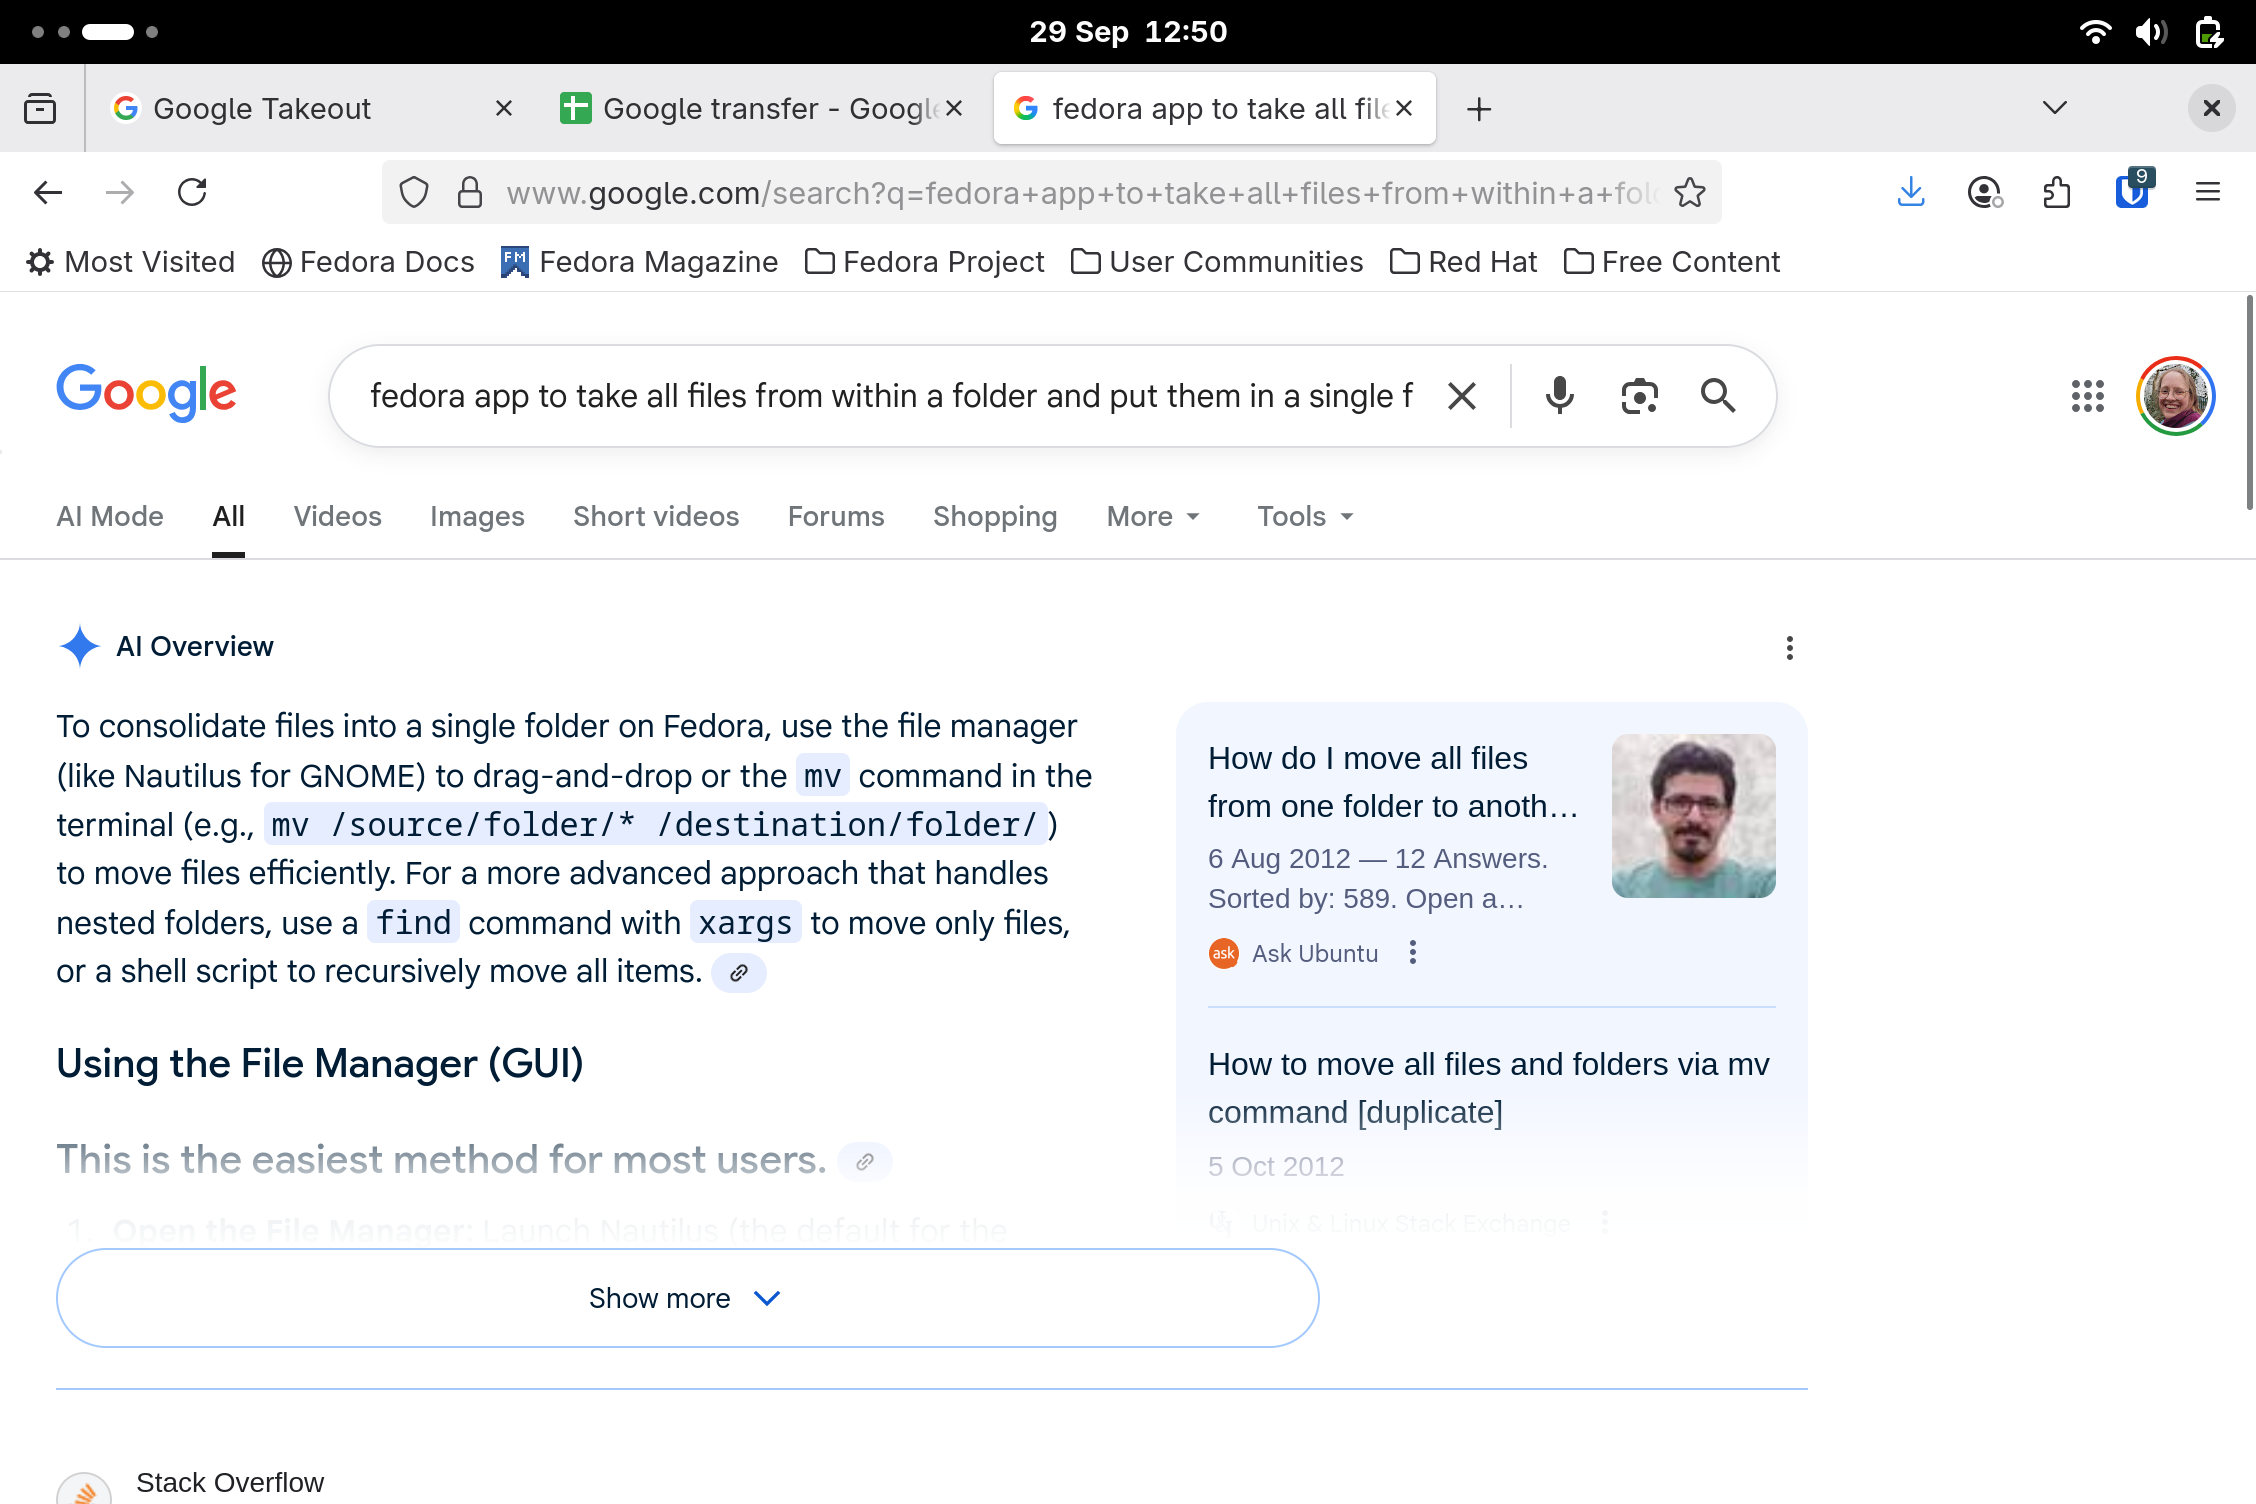
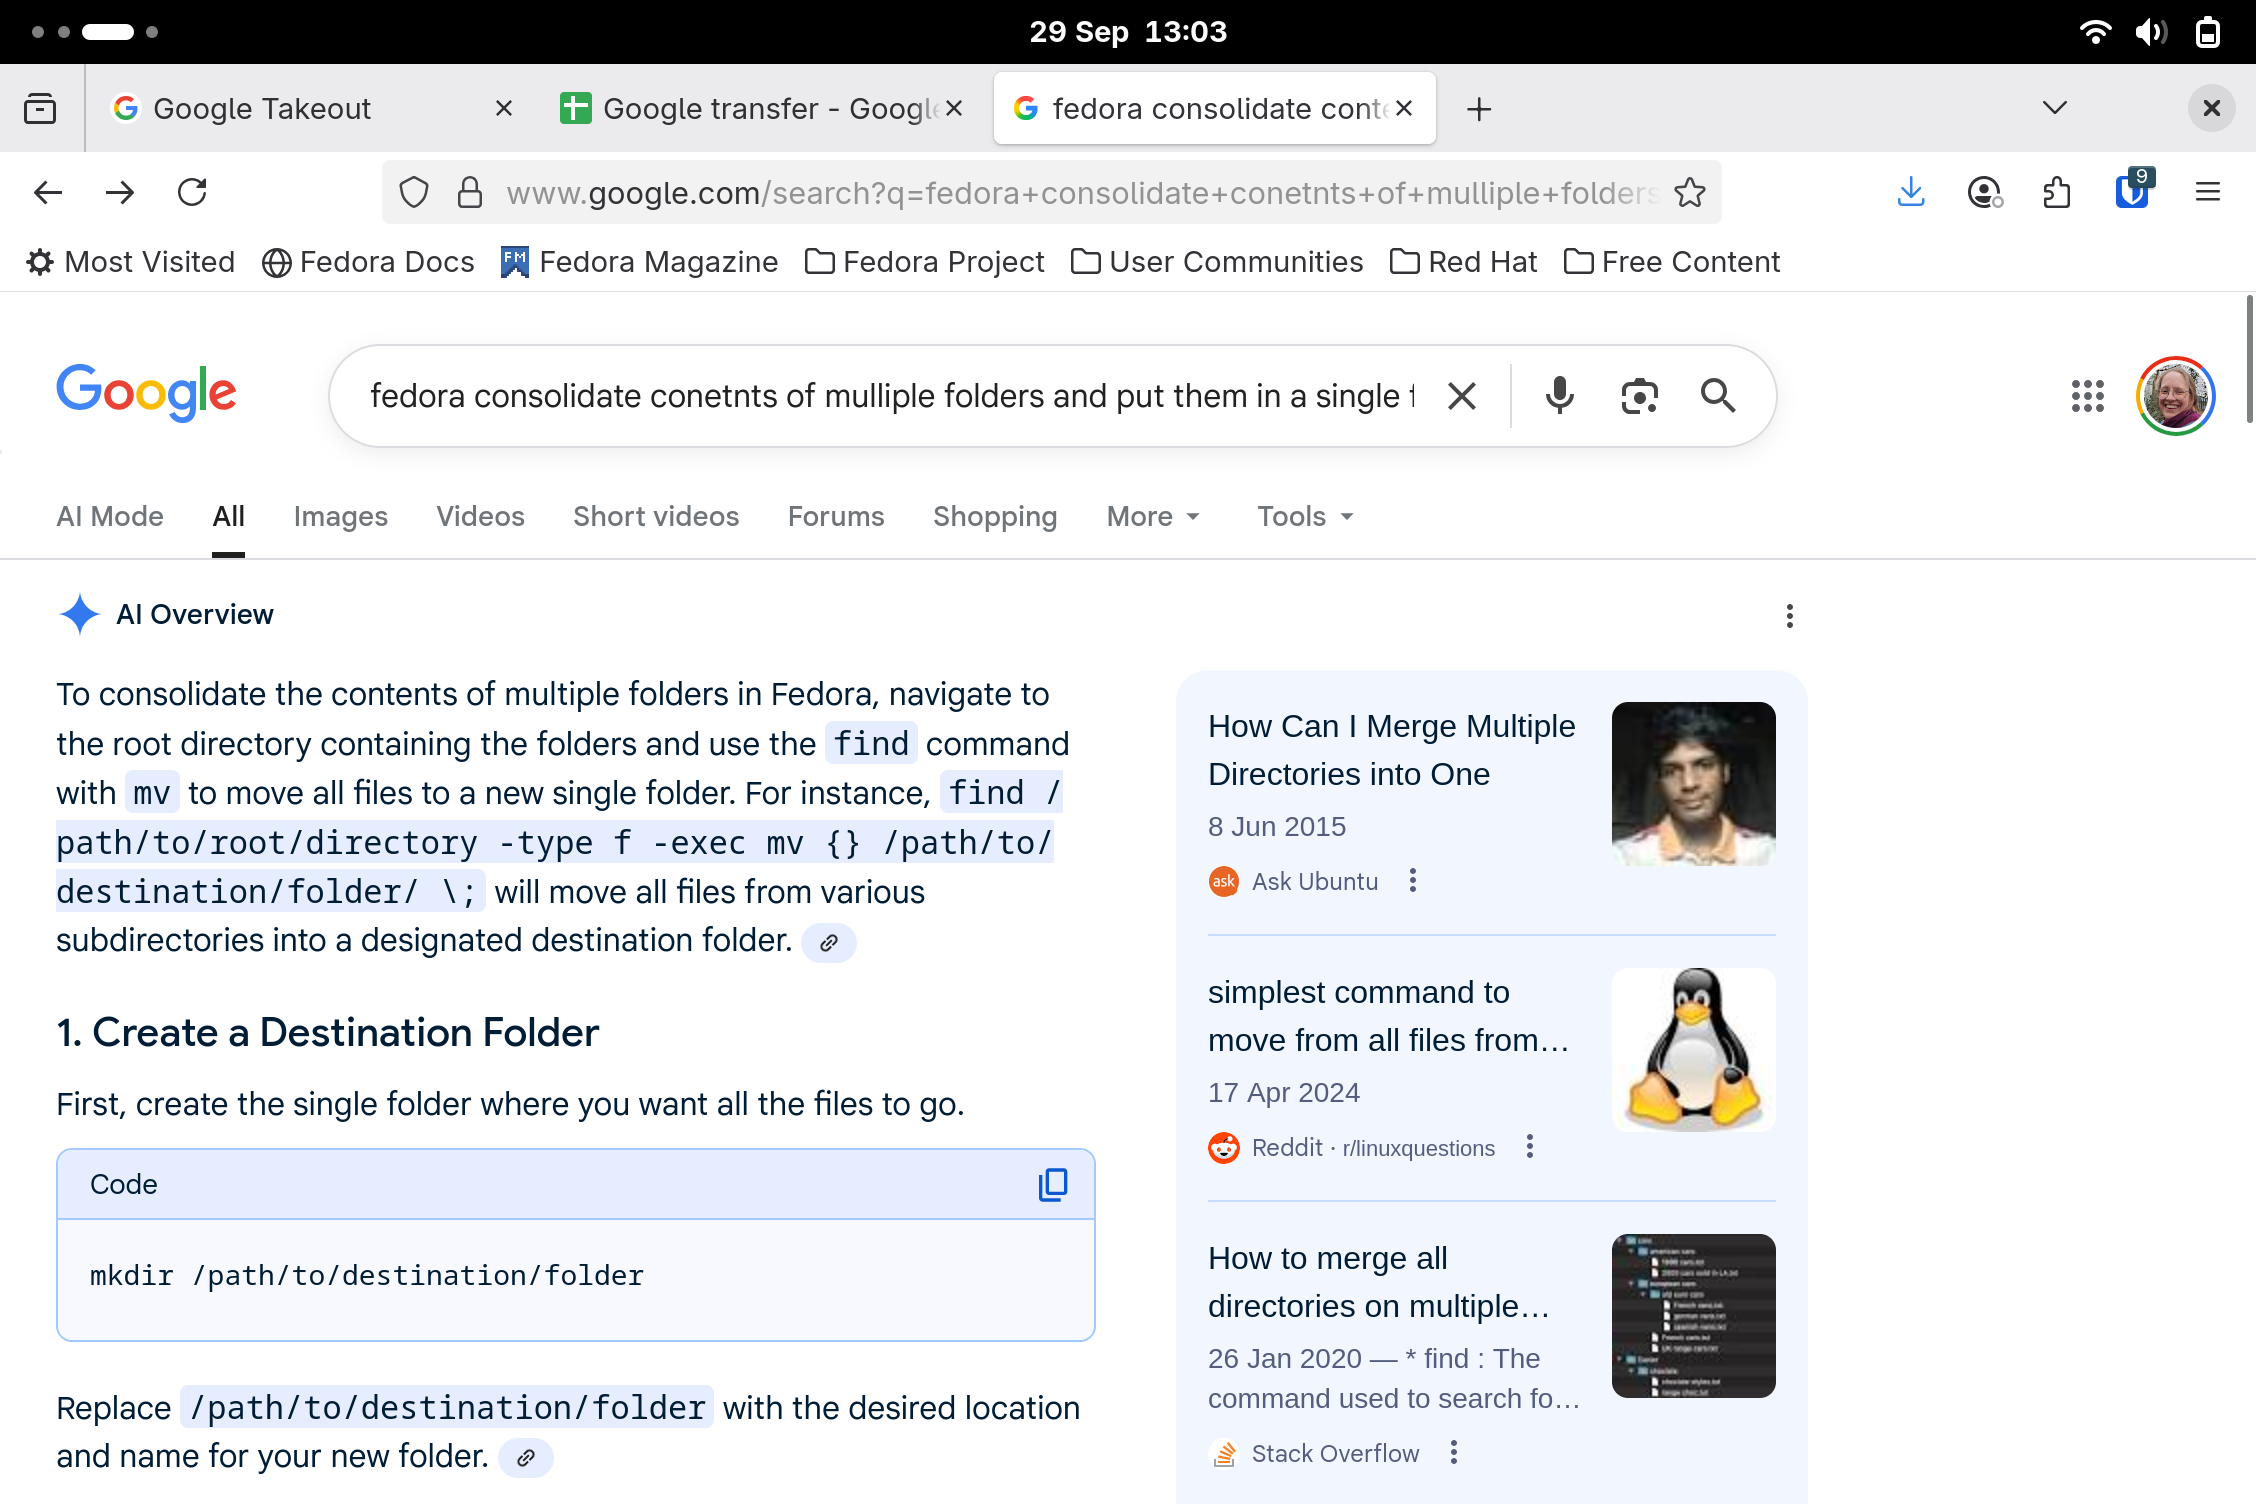
I didn’t really know how hard this would be, I was thinking I would need an app or a script or even have to do it manually. However after some Googling and a few false starts this seems to be easy enough just with command line.
The first AI overview seemed okay except that the GUI instructions didn’t look correct to me. Turns out the command was just moving the entire content of a folder into another folder.
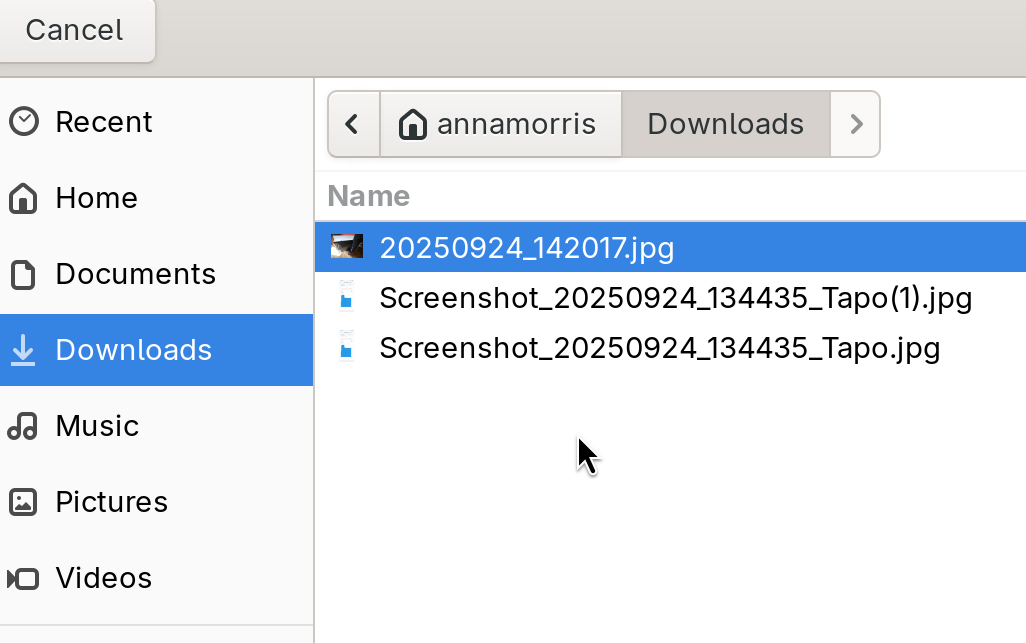
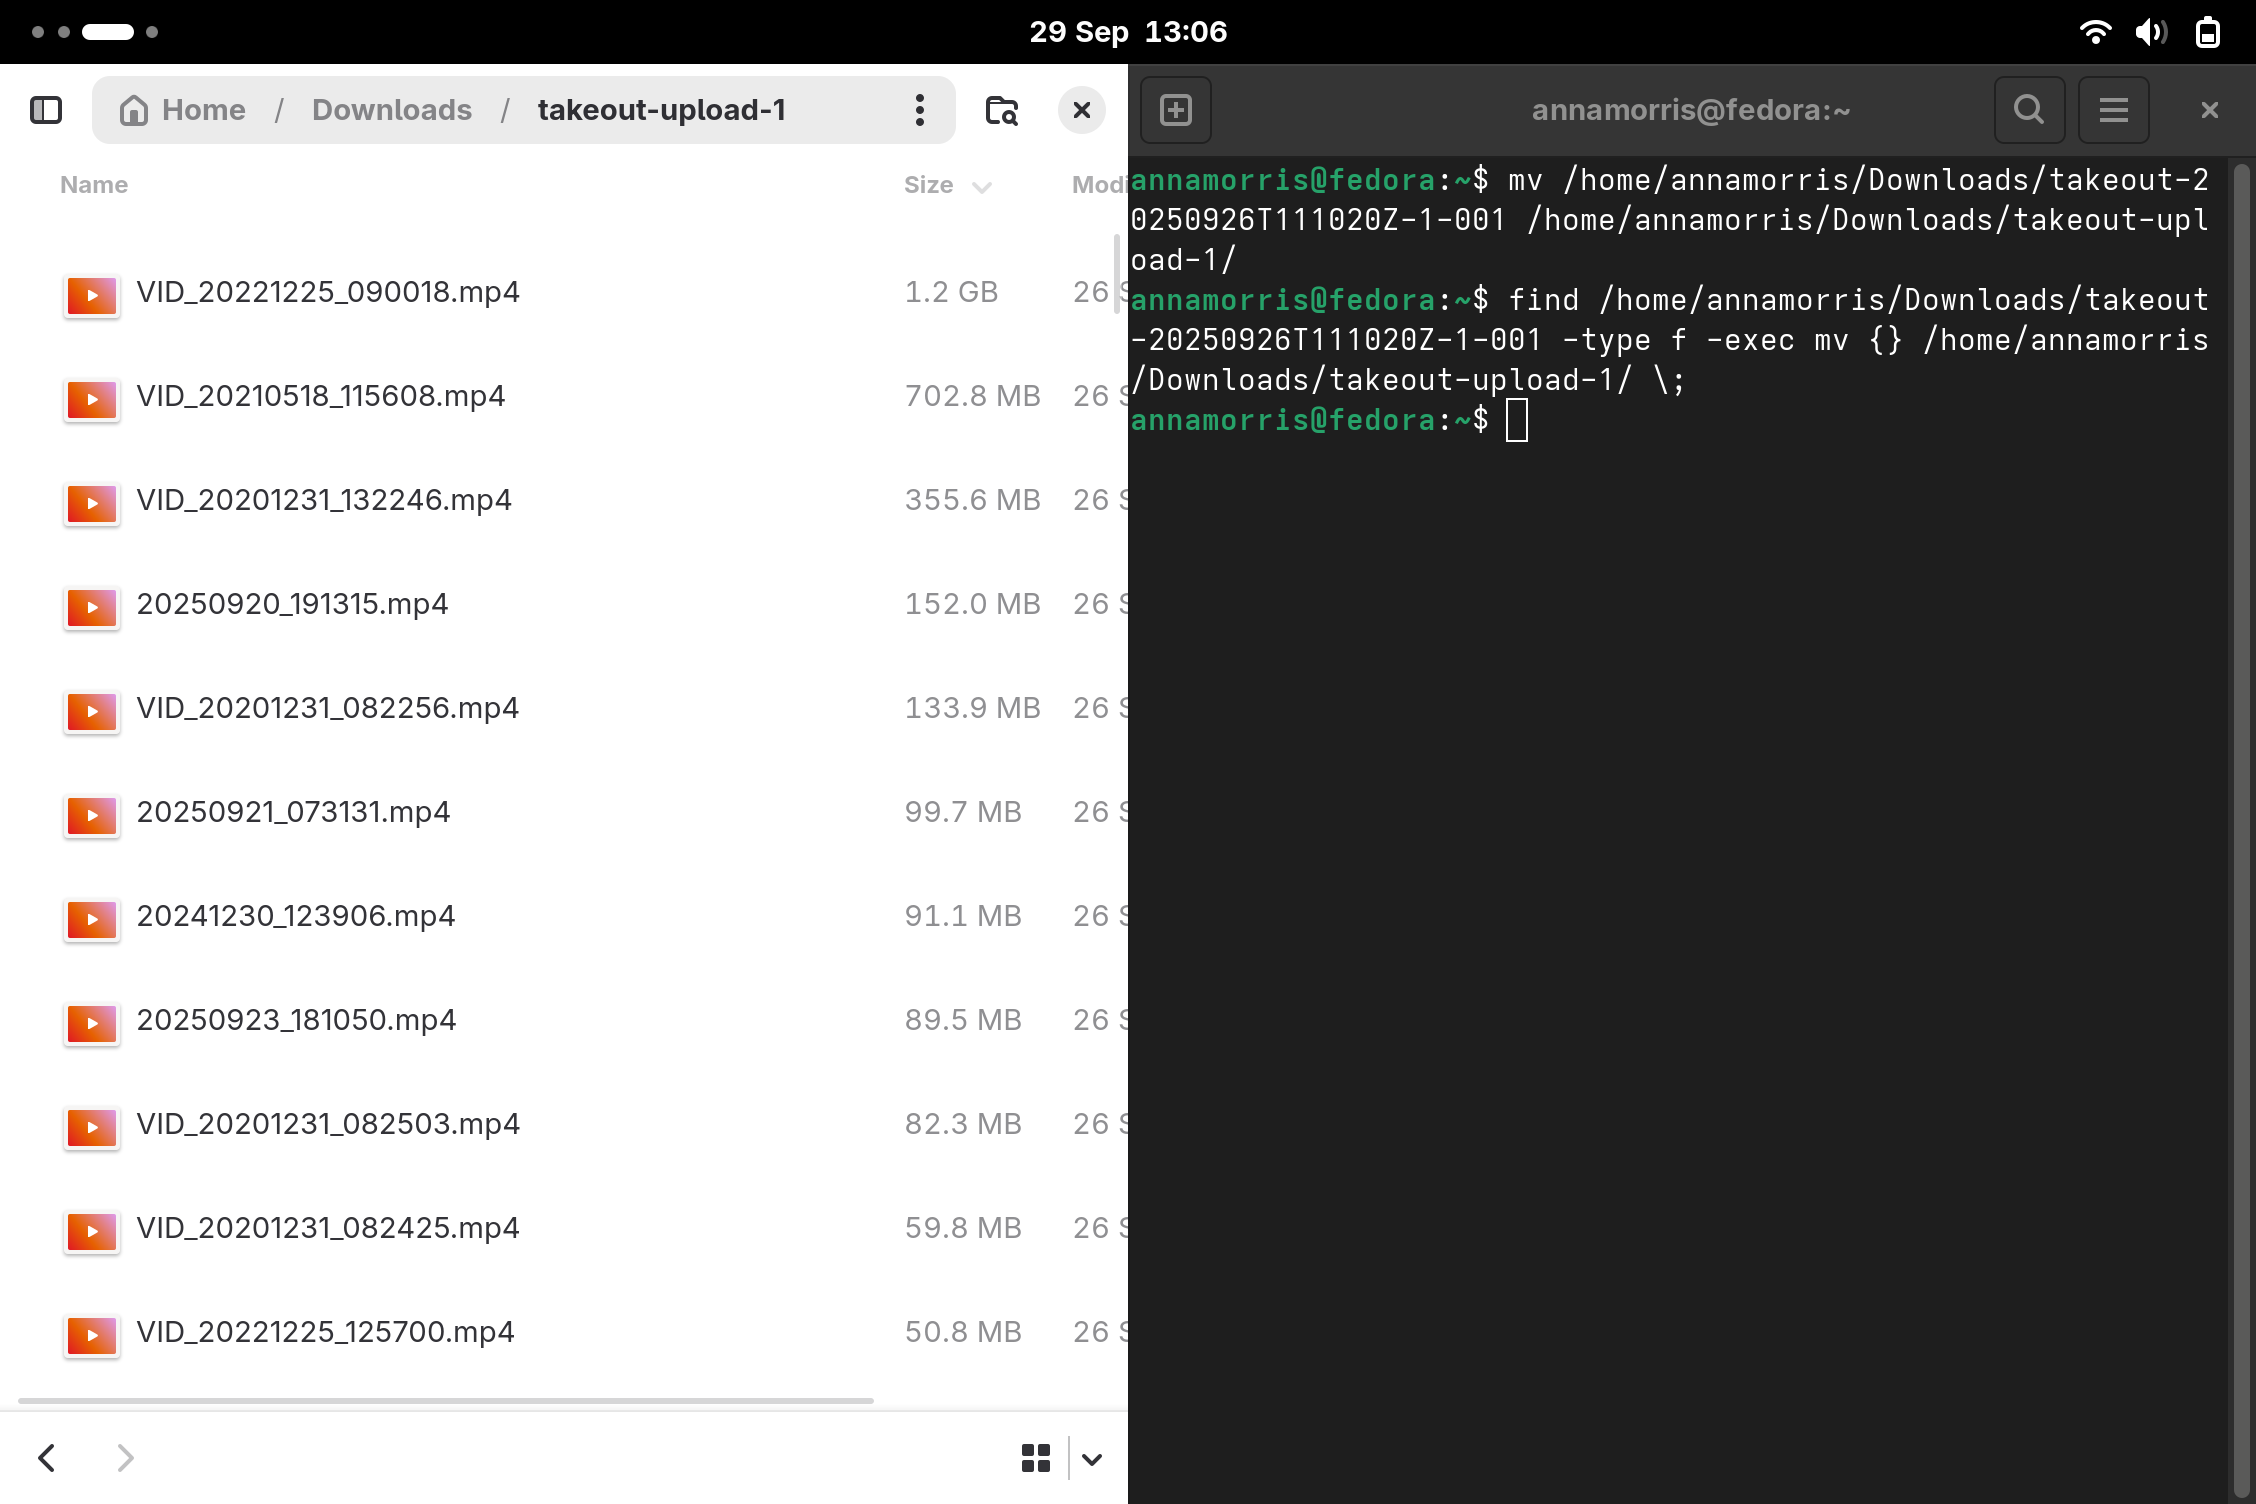
To get the file location correct in the command line I copied the file in file manager and “pasted it into command line”. Shame the command was wrong!
While the command didn’t do what I needed, the AI summary did use the word “consolidate” which was a better description of what I wanted to do. So I refined my search.
I did note that some of the reference links were for MacOS etc but gave the new command a go anyway.
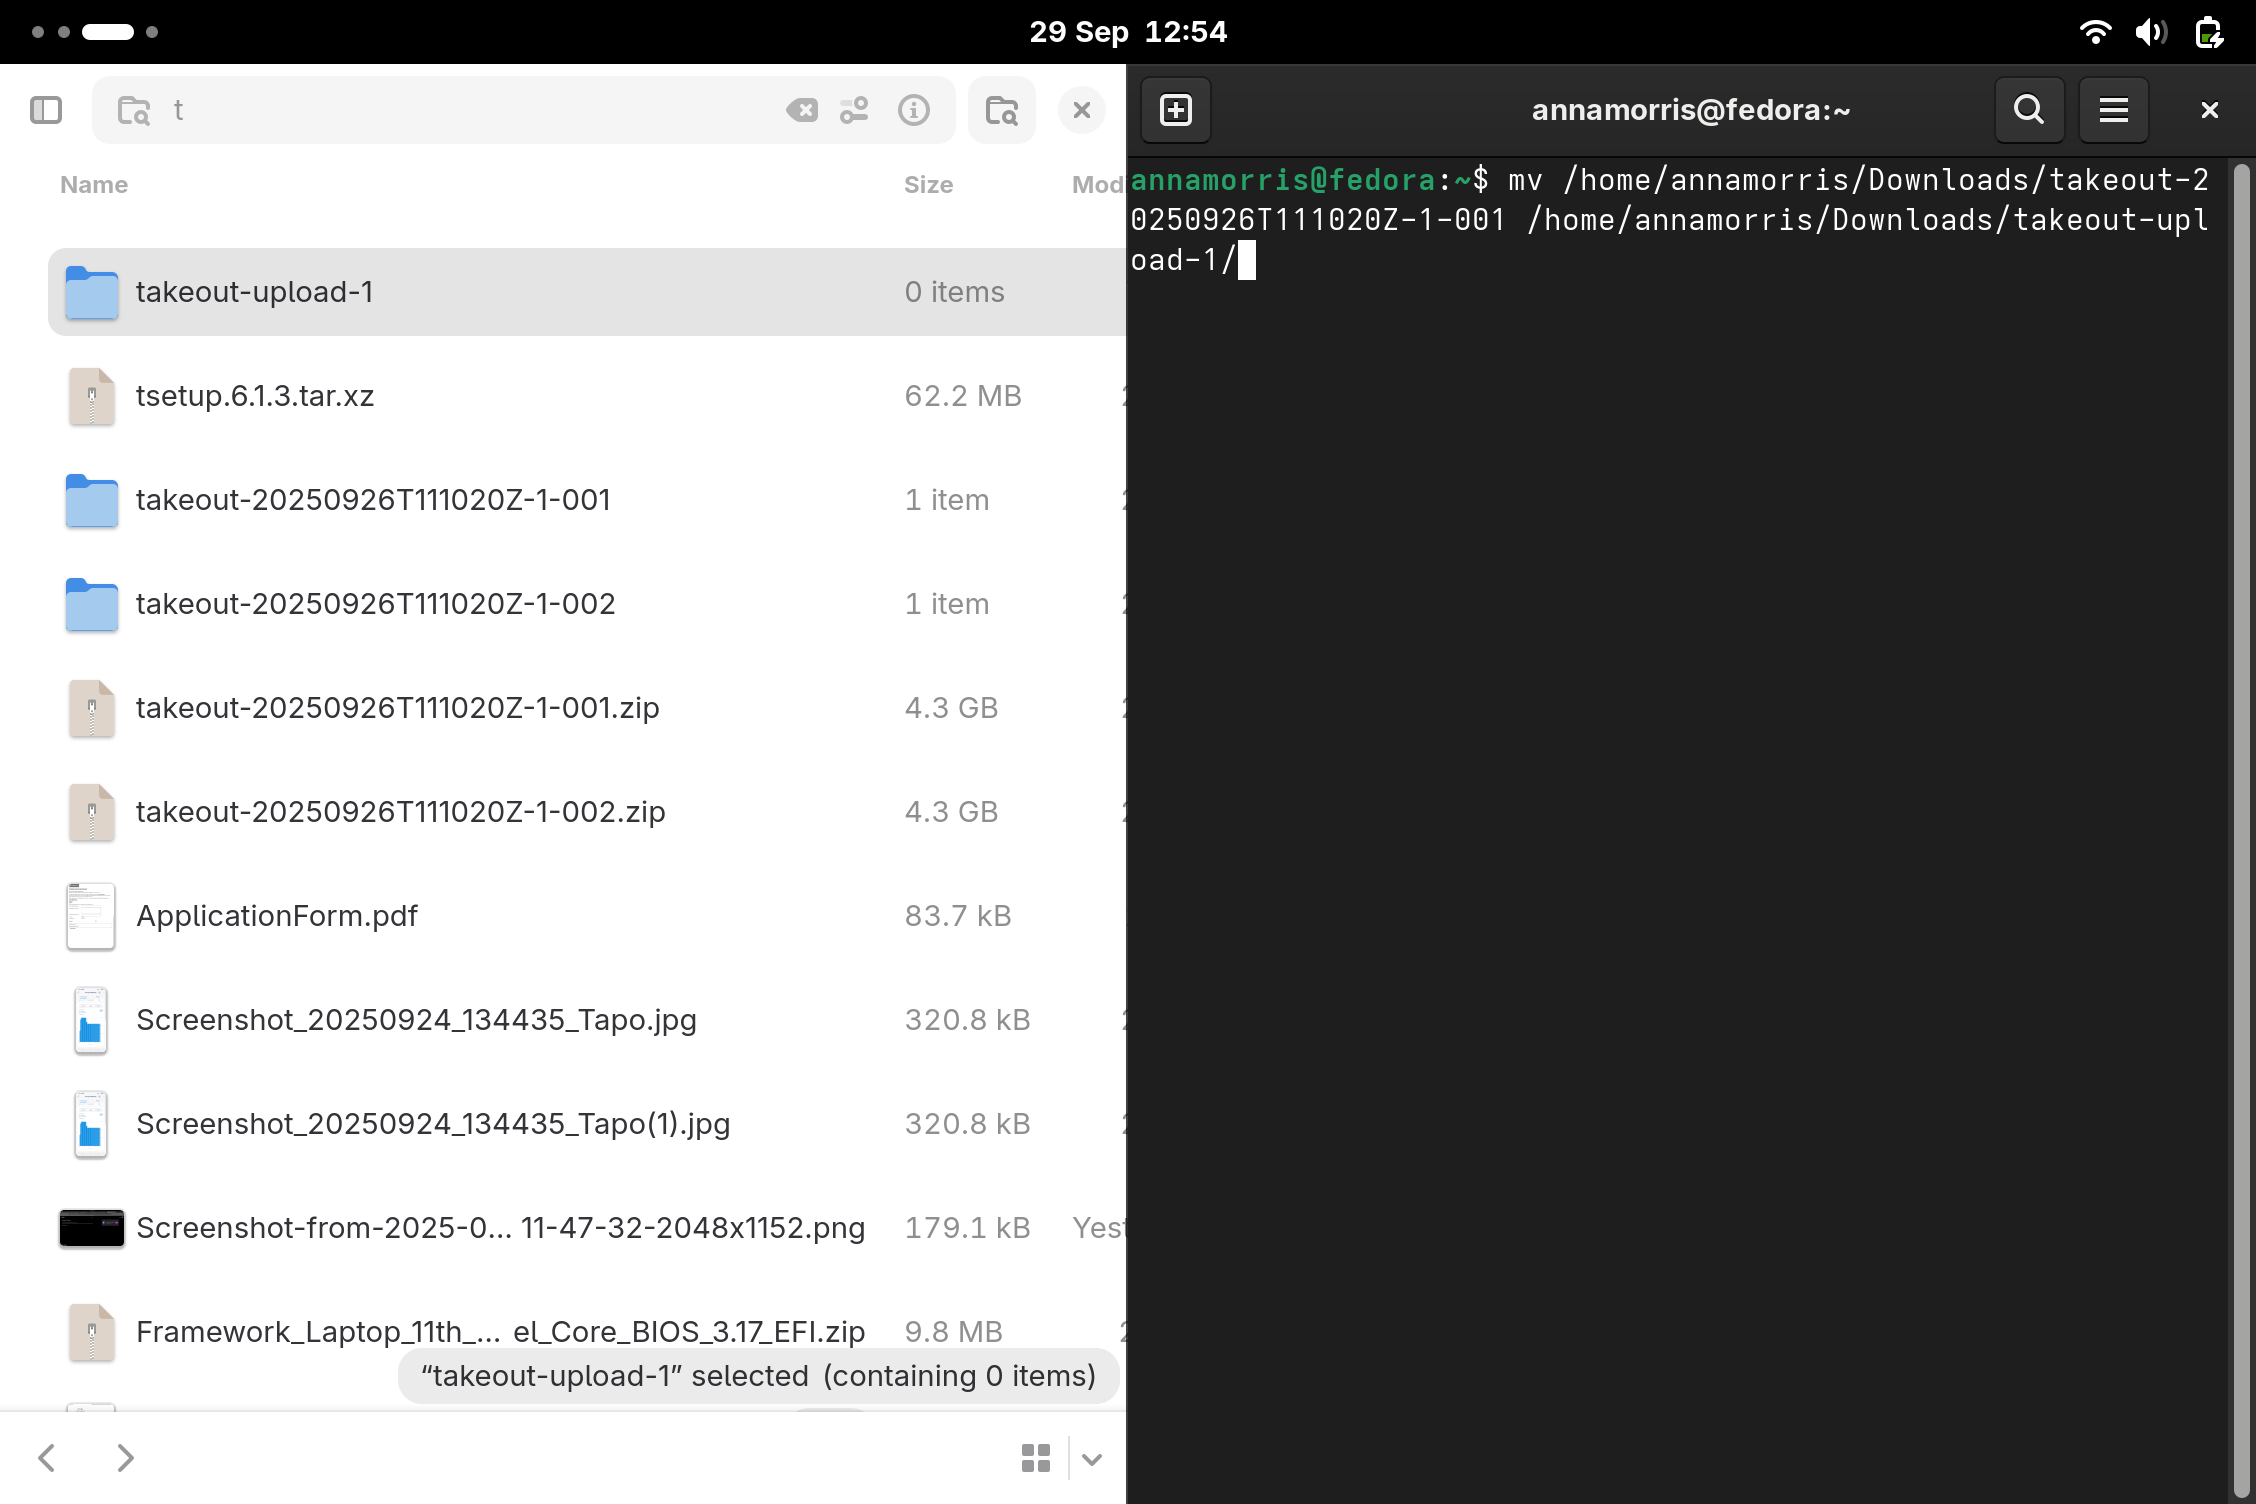
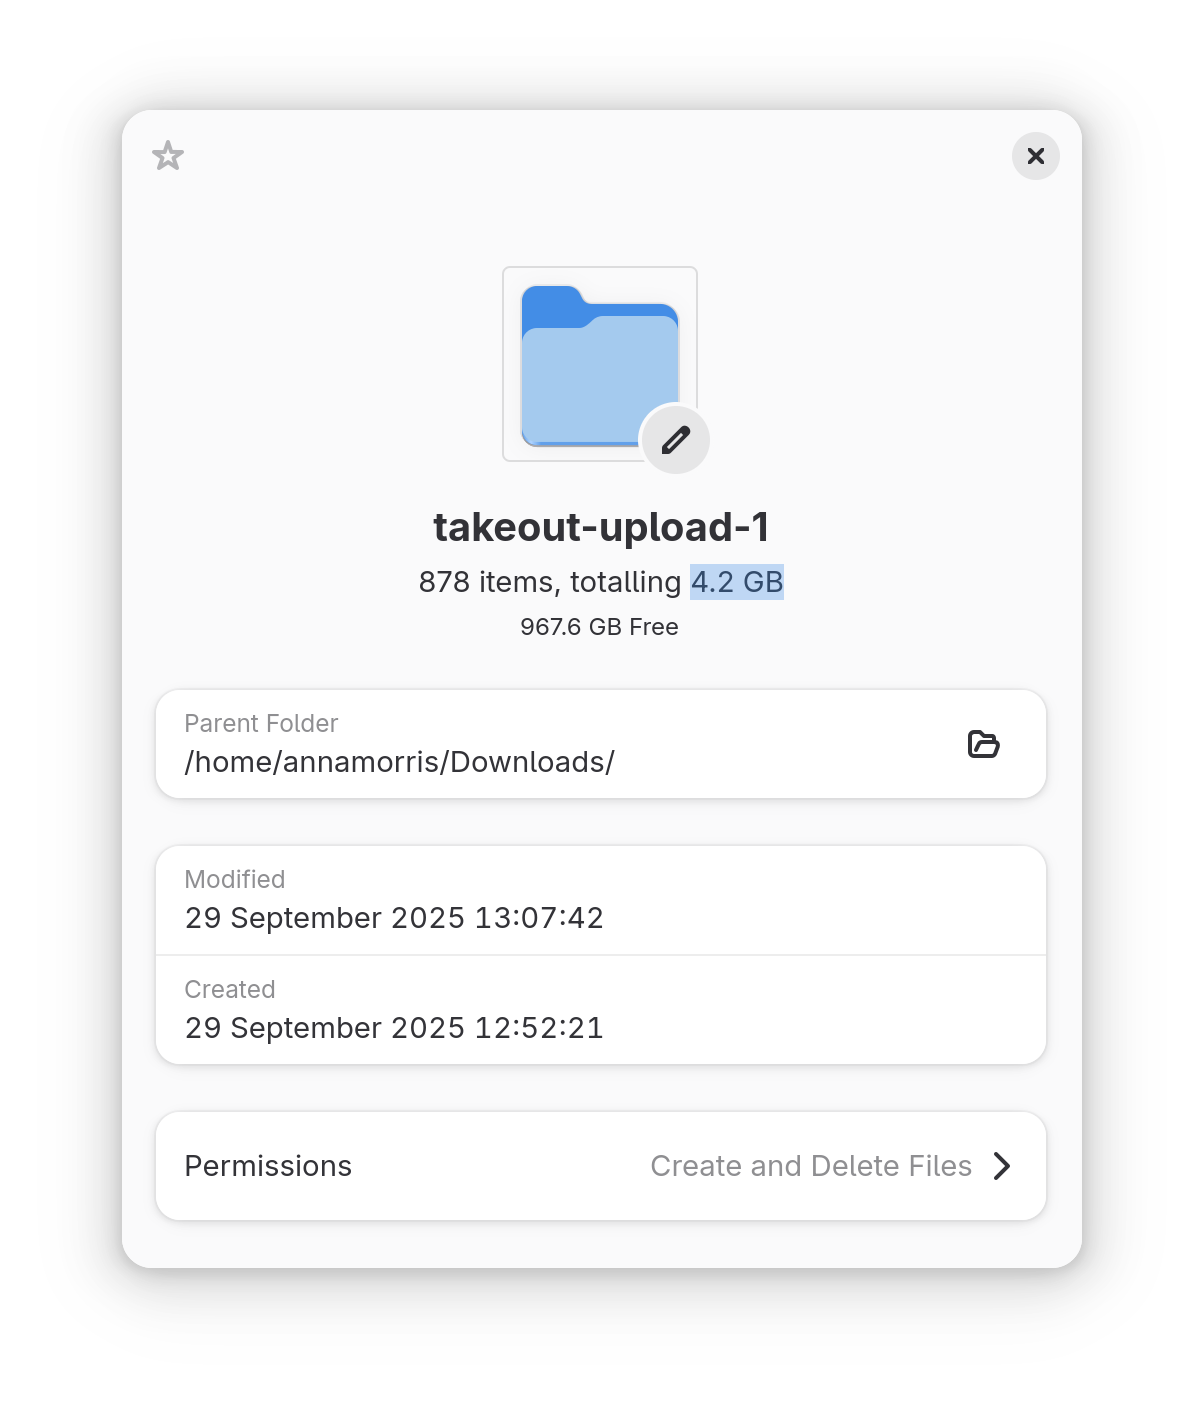
find /home/annamorris/Downloads/takeout-20260416T105620Z-3-001 -type f -exec mv {} /home/annamorris/Downloads/takeout-upload-1/ \;And it worked!!
Uploading large numbers of photos to Immich: my mind was blown!
The first upload from my consolidated google takeout folder was 338 photos, 4.2GB. I was prepared for this to be a bloody nightmare, take hours, crashes, can’t restart it etc etc. This has long been my experience of moving lots of data from one place to another.

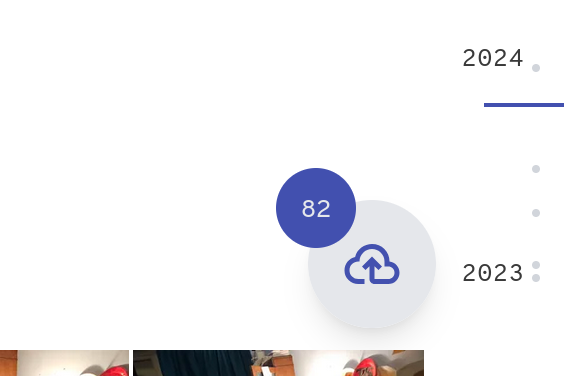

It took 3 minutes.
My response was “Oh my f***ing God, that’s INSANE” and then this facial expression.

I am now OBSESSED with this local network NAS thing! That’s the BEST user experience I have had moving anything to anywhere in… ever?!!! MY MIND IS BLOWN!! 🤯🤯🤯 The internet is shit. The internet is dead to me. I’m going off-line baby!!! 🛜😵🚀🤠
Finishing up uploading
Downloading was very slow and annoying. Extracting was fine, I checked the folders within for any albums I might want to migrate (no more so far). Then I just made a new file in the files app for each download and on command line I edited the previous command to have the next file names instead. Consolidated. And uploading was perfect! I haven’t finished yet this may take a while but it’s fairly seamless!